Getting started with Amethyst
This book helped me a lot to get started: https://www.amethyst.rs/book/latest/
Prework
Rust, rustup and cargo is already installed on my system. You can
get it here https://www.rust-lang.org/learn/get-started.
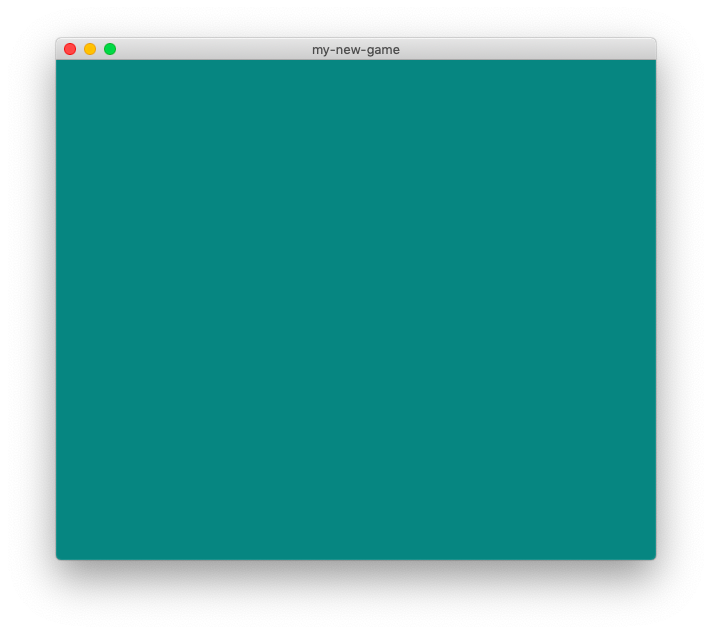
Amethyst delivers a CLI which can be used to create a new project which already displays a window.
cargo install amethyst_tools
Now lets create a new project.
amethyst new my-new-game
This will crate a new directory called my-new-game which contains a rust project which can be built and run with cargo. Lets build it:
cd my-new-game
cargo build
Look at the code
This will take a moment now. There are 341 dependencies loaded from the Internet and compiled. While it’s building, lets take a look at the source. There is only one rust file, the main.rs.
crate amethyst

use amethyst::{
    prelude::*,
    renderer::{DisplayConfig, DrawFlat, Pipeline, PosNormTex, RenderBundle, Stage},
    utils::application_root_dir,
};
I guess there is not much to explain here. It uses the amethyst crate and tells the compile what will be needed. We will see more details on the included parts when they are used in the code.
struct Example;

impl SimpleState for Example {}
This is a game state which doesn’t hold any data. A game state can be the main game, the game menu, the pause screen etc. Basically the different states your game can have. Since this “game” doesn’t do much, the struct is simply empty. Using SimpleState is an easy way define a new state.
fn main() -> amethyst::Result<()> {
I guess this doesn’t need more explanation.
amethyst::start_logger(Default::default());
Initialize the logger.
    let path = format!(
        "{}/resources/display_config.ron",
        application_root_dir()
    );
    let config = DisplayConfig::load(&path);
The configuration for the display system is stored in an external file. In general these files are stored in RON which means Rust Object Notation. It is a file format inspired by the Rust language. Details are here: https://github.com/ron-rs/ron
    let pipe = Pipeline::build().with_stage(
        Stage::with_backbuffer()
            .clear_target([0.00196, 0.23726, 0.21765, 1.0], 1.0)
            .with_pass(DrawFlat::<PosNormTex>::new()),
    );
Now the rendering pipeline is initialized. clear_target defines the background
color when cleared in RGBA and the depth buffer value as second argument.
What does with_pass? Actually I don’t understand it. It’s possible to define
multiple render passes which can be text (the UI maybe?) or the game itself. At
this point it not clear to me, how this works in detail. Once I know it, I will
make a reference here. If you accidentally stumbled over this page and know it,
please
tell me.
    let game_data =
        GameDataBuilder::default().with_bundle(RenderBundle::new(pipe, Some(config)))?;
    let mut game = Application::new("./", Example, game_data)?;
Here the game is initialized. First only the game_data. Here the systems are
assigned. In this case, only the RenderBundle which contains multiple systems.
Here it’s possible to assign more systems. In the next posts I will create my own
Systems which I will add here.
Interesting as well is to see that the RendererBundle is initialized with the render pipeline from above and the configuration which was loaded from the RON file.
Finally, the application is created. The first parameter of new defines the root directory, the second the initial state and the third the game data.
    game.run();

    Ok(())
}
This will start the game loop. Once finished, main will end with on empty state.
Other parts of the project
cargo.toml is relatively uninteresting. It only contains one dependency
which is amethyst.
Let’s take a look at resources/display_config.ron.
(
  title: "my-new-game",
  dimensions: None,
  max_dimensions: None,
  min_dimensions: None,
  fullscreen: false,
  multisampling: 1,
  visibility: true,
  vsync: true,
)
The content of the file reflects the amethyst_render::DisplayConfig. In the amethyst documentation it is describes what each attribute means: https://www.amethyst.rs/doc/latest/doc/amethyst_renderer/struct.DisplayConfig.html
Run the project
In the meanwhile, the built process should have finished. Lets run it.
cargo run
The code can be found here: https://github.com/neosam/my-new-game/tree/v0.0.0-1. In the next section, I will start to add my custom System and Components.